圣鑫管业

17

2026

-

10

A caliper, five dimensions: a self-inspection checklist for cup‑making machine manufacturers.


Author:

The most common phrase heard in the workshop is, “This dimension is out of tolerance.”
But whether it’s over or under often doesn’t depend on the cup—it depends on how you measure. With the same cup, a different measuring method might turn a “pass” into a “fail,” or vice versa.
Over the years of manufacturing cup‑making machines, we’ve encountered more cases of “dimensional errors” than actual defects in the cups themselves. The table below is a self‑inspection checklist we’ve compiled for our customers—five key dimensions and a caliper are all you need.
I. Five sizes, five lines
01. Outer diameter of the cup mouth
Use a vernier caliper to take measurements at six points around the circumference of the cup opening.
Acceptance tolerance: ±0.5 mm
02. Cup Height
Measure from the bottom of the cup to the rim, with the caliper held vertically.
Acceptance tolerance: ±1 mm
03. Wall Thickness
Take one measurement at the midsection of the cup, one near the base, and one near the rim; measure the base separately as well.
Acceptance limit: Nominal value ±10%
04. Bottom diameter of the cup
Use calipers to measure the outer circumference of the cup’s base, primarily to check whether it stands stably and can support a stack.
Acceptance criterion: as specified on the drawing
05. Capacity
Fill to the full‑mouth level, then verify using a measuring cup or convert by weighing the water.
Acceptance tolerance: ±5%
These lines on the table represent the industry‑standard acceptance criteria. Depending on the client and the intended application, the requirements can be tightened—but they are rarely relaxed beyond this level.
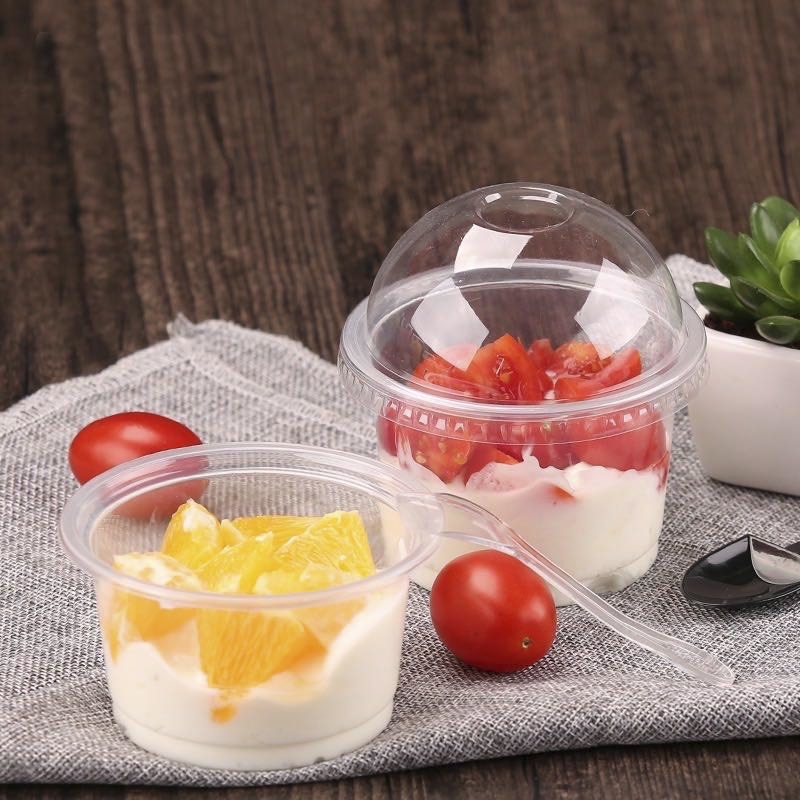
For the same specification, a slight difference in the cup opening can make the lid fit just a bit off.
II. The easiest one to measure incorrectly is the one ranked first.
The outer diameter of the cup mouth seems easiest to measure, but in fact it’s the most prone to yielding false readings. As for the three pits, we almost always encounter one whenever we visit a customer’s workshop.
Pit One · Measures only in one direction
Once the cup opening becomes elliptical, the reading you obtain depends on which orientation it aligns with. If it aligns with the major axis, the measurement is within tolerance; if it aligns with the minor axis, the deviation immediately exceeds the allowable limit.
The correct approach is Measure in circles — Take six points evenly spaced around the circumference and measure each three times, then calculate the average. Drawing conclusions based on measurements in only one direction is tantamount to not having measured at all.
Pit Two · Flatten the thin wall clamp
The rim of a thin-walled cup can indeed be deformed by gripping it. If you press hard with calipers, the reading drops immediately—you might think the cup has “shrunk,” but in fact, you’ve just compressed it. The correct feel is… Tap lightly — Simply place the measuring jaws on the surface and ensure they make full contact.
Pit Three · Measuring with the newly released cup
The cup, just after being formed, is still hot and its dimensions have not yet stabilized; you should wait until it returns to room temperature before taking measurements. For the same cup, the readings obtained when it’s hot will differ from those taken when it’s cool—this isn’t because the cup has changed; rather, it’s still undergoing dimensional shrinkage.
By the way, here’s another metric: roundness. Subtract the minimum reading from the maximum reading; the difference shall not exceed 0.2 millimeters This value provides a better indication than the outer diameter of whether the mold and temperature control are stable.
III. Of the remaining four, jot down one sentence each.
Cup height:  The caliper must be held vertically—do not measure at an angle. Even a one-degree tilt will cause the reading to be off.
Wall thickness:  Don’t just measure a single point. Uneven wall thickness is more problematic than thin walls—it indicates uneven material distribution, which can lead to insufficient local strength later on.
Cup bottom diameter:  If the bottom diameter is too small, it wobbles when stacked; if it’s too large, it won’t fit onto the palletizer. Either way, it’s a hassle.
Capacity:  This doesn’t require a caliper. Note that what’s being measured is… Full mouth capacity , it’s not the recommended fill volume; these two are not the same number.
Whether the rims of the cups are even or not becomes clear when they’re lined up in a row.
IV. Even if the quantity is measured accurately, it does not mean there will be no leakage.
This is the most easily misunderstood point. A cup’s outer diameter meeting the specification only means it conforms to the stated dimensions; it… Cannot This indicates that the cup is completely sealed.
Sealing also depends on the contour shape and fit of the snap‑fit, which must be verified separately with the corresponding lid installed. Therefore, on the inspection line, dimensional accuracy and sealing performance are assessed on two distinct checklists—meeting dimensional requirements only gets you halfway there.
5. This chart can be posted next to the inspection station.
First, check the zeros. Always reset the caliper to zero before each use—this step can’t be skipped.
Second, note the direction and location. When encountering an ellipse or irregular curling, be sure to specify the direction in which the measurement was taken—because that very direction often provides the most valuable clue.
Third, discard the reading that is most out of step with the others. When someone takes a series of measurements, they often unconsciously cross out the value with the largest deviation—precisely the one that usually points to the root of the problem.
In the cup‑making machinery business, we often say: a machine’s precision is measured, not boasted. Whether that 0.5 millimeter at the cup opening can be kept within tolerance—only the caliper on the inspection stand will tell.